10 WAYS TO GET INTO THE EASTER SPIRIT DURING A PANDEMIC!
These are strange time we’re living in! Typically this time of year we are planning spring breaks and looking forward to time with family. Easter is upon us and without those get-togethers planned, it has been hard to truly get excited for such a special holiday.
We’re here to help! We have 10 awesome activities for you to do with your family to get into the Easter Spirit and still create memories you will cherish for a lifetime!
1 – EASTER EGG TREE
Everyone looks forward to decorating their Christmas tree! Who said we couldn’t do that for Easter too? We have the perfect way to decorate your front trees and really get into the Easter Spirit! Everyone walking by on their daily outside time will love seeing it!
- Plastic Easter Eggs
- String
- Glue
- Candy (optional)
- Cut the string into 6in strips. Cut the same number of strings as you have eggs
- Glue both ends of the string to the top of egg
- Fill eggs with candy (optional)
- Hang on a tree of your choice for the perfect Easter decoration and a fun egg hunt

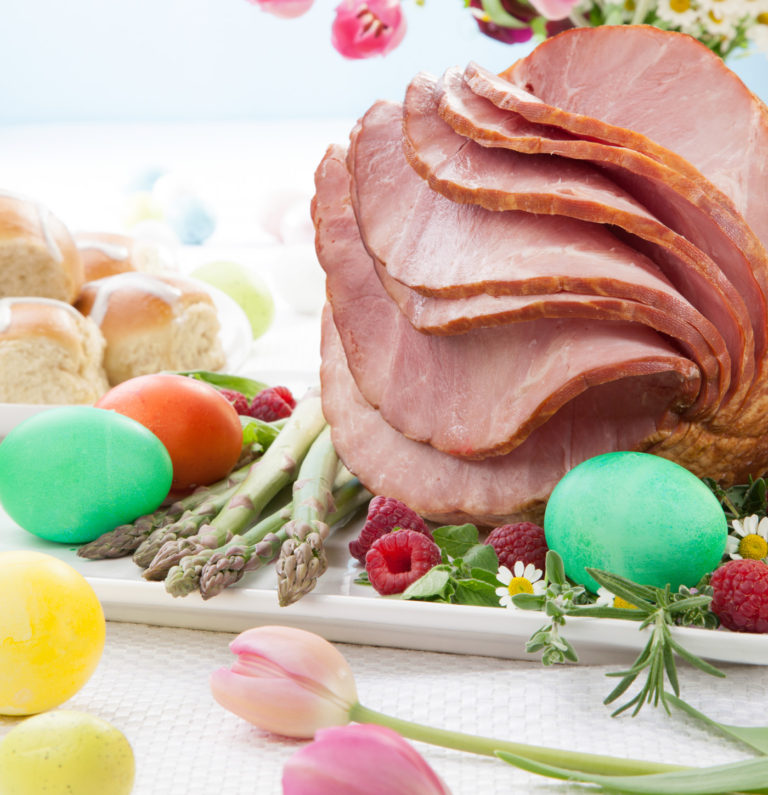
2 – GRANDMA’S HONEY BAKED HAM
Can’t have grandma’s delicious honey baked ham this Easter? Well we have the solution for you with this easy recipe to have the perfect honey baked ham for your Easter festivities!
- Spiral sliced ham
- Slow cooker / oven
- ¾ cup White sugar
- ¼ cup Brown Sugar
- ¼ tsp. Cinnamon
- ¼ tsp. Nutmeg
- ¼ tsp. Cloves
- ¼ tsp. Paprika
- Dash of ginger
- Dash of onion powder
For steps follow this Instructional Video on How to Make the Perfect Honey Baked Ham for Easter!
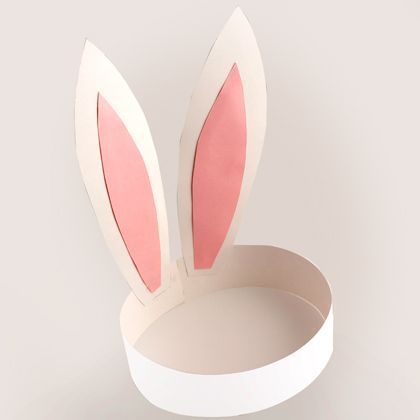
3 – EASTER EARS
- Cardstock paper of 2 different colors (Any colors your little bunny would like!)
- Glue Stick
- Scissors
- Cut out a rectangle that will fit around your head when turned into a circle
- Use your second color of cardstock to cut the outer sides of the ears
- Use the same color you used for the rectangle to cut smaller versions of the ears you just cut
- Glue the small ears to the top of the big ears
- Glue the big ears to top of the rectangle
- Let dry
- You now have your very own bunny ears
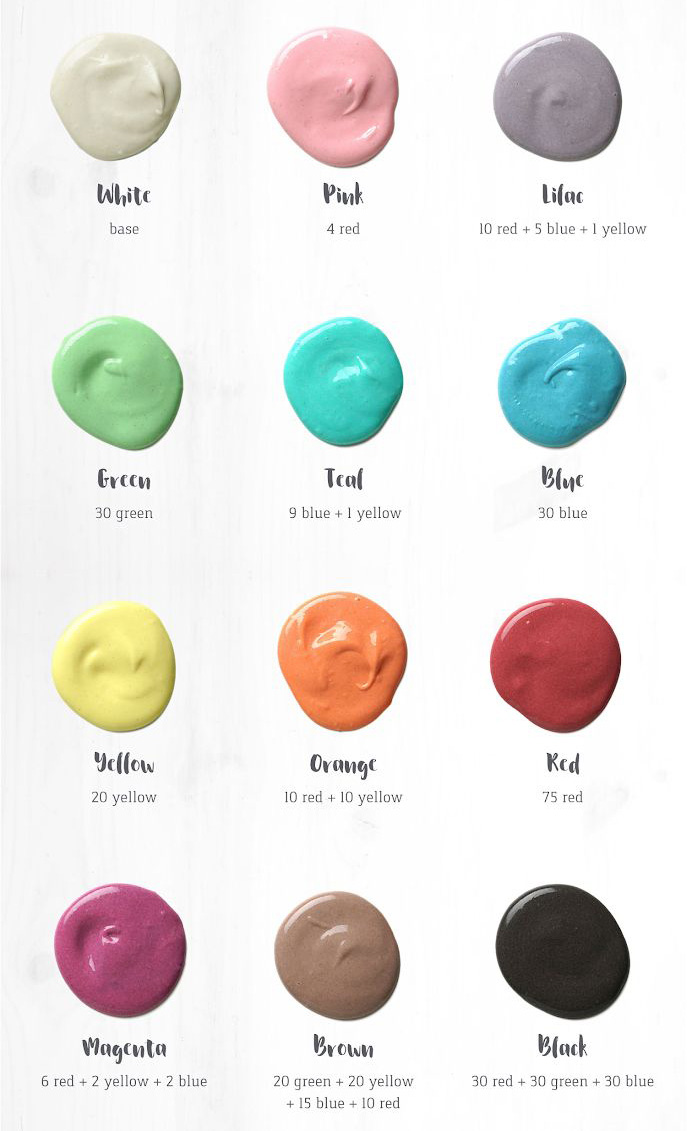
4 – HOMEMADE FACE PAINT + FAMILY FACETIME
Friends and family will love seeing your kiddos with a cute bunny face this holiday! This homemade recipe is sure to wow your friends and family during those Facetime calls!
What you need:
- 1 cup water
- 1 cup cornstarch
- 1 cup flour
- 1 cup lotion
- 1/4 teaspoon vegetable oil
- Food coloring
- Spoon
- Bowl
- Container
Steps:
- Add water, cornstarch, flour and lotion to a bowl
- Mix together ingredients and make sure the paint consistency is to your liking. If you want to thicken, add more cornstarch. To thin out the mixture, add water
- Add food coloring
- Store in an airtight container
- Paint a bunny face – 2 ears on the forehead, a pink nose and whiskers!
- Call your family and enjoy a festive Easter Facetime chat with you and your loved ones!
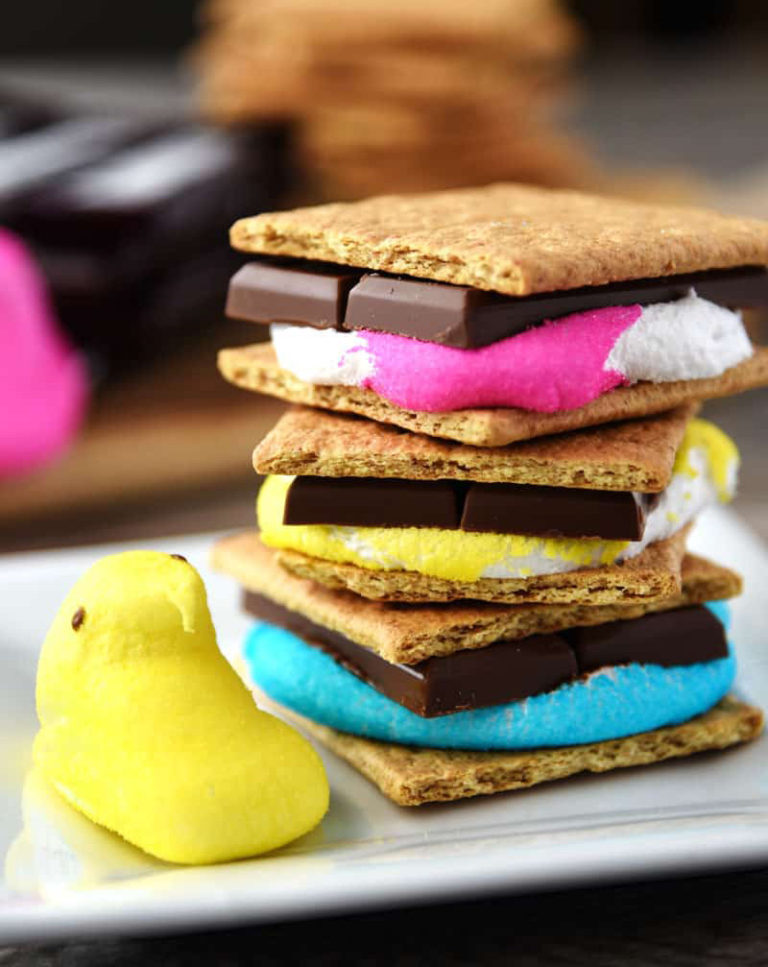
5 – EASTER S’MORES
S’mores are everyone’s favorite treat! We have added even more sugar to this delicious snack with these Easter themed S’mores!
What you need:
- Peeps
- Graham crackers
- Chocolate bars
Steps:
- Take 2 squares of graham cracker for the top and bottom of your s’mores
- Place piece of chocolate on the bottom cracker
- Place peep on top of chocolate
- Place graham cracker on top
- Roast s’mores over fire (optional) or use the microwave! It’s a delicious treat either way!
6 – NO SEW SOCK BUNNIES
Sock bunnies have been made everywhere and they come in all shapes and sizes, however we have a great DIY for you and your kiddos to do! They’re the cutest little sock bunnies this holiday season!
What you need:
- Socks in any color of your choosing
- Permanent Marker
- Rice
- Twine/ string
- Ribbon
- Tape
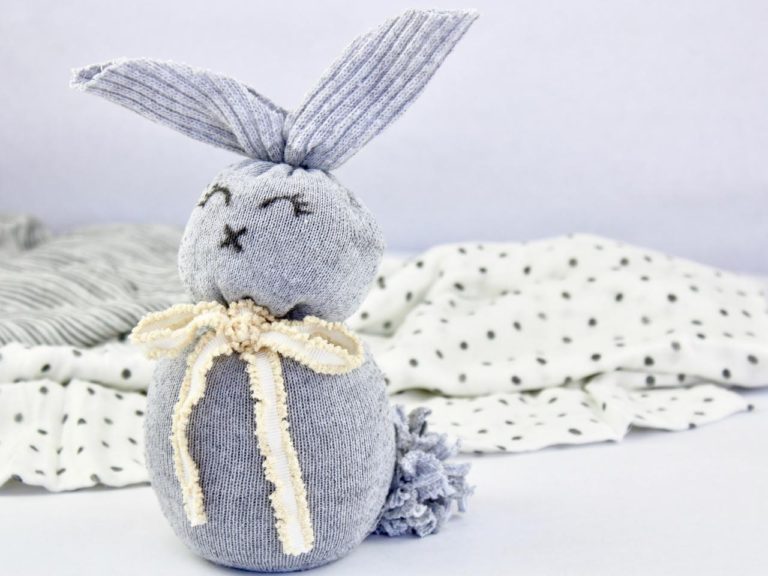
- Fill your sock with rice up to the start of the heel. (Sock must be able to stand vertically when stuffed.
Form the shape of a pear. This will give you a larger base than the top. This will form a separate head and body. The ankle section of the sock will be used for the ears - Tie off the sock just above the head using twine or string. Ensure it is secure so the stuffing does not come out. Using a second piece of string tie off the neck, just under the head. Cover the string around the neck with your choice of ribbon
- Cut down the top of the sock (The ankle part) to create the ears for your little bunny
- Now time to give your bunny a face! Use the permanent marker to draw eyes, a mouth, and a nose.
If you would like to add a tail you can do so by pinching the back and also tying it off. - Whala! Your bunny is complete!
7 – EASTER BUNNY FACE MASK
One of the simplest, yet most fun DIY easter crafts you will do! This can also be the perfect decoration for your front door or windows!
What you need:
- 2 white paper plates
- Paint in your choice of color
- White paint
- Cotton Ball
- 2 pipe cleaners
- Permanent Marker
- Scissors
- Hot glue
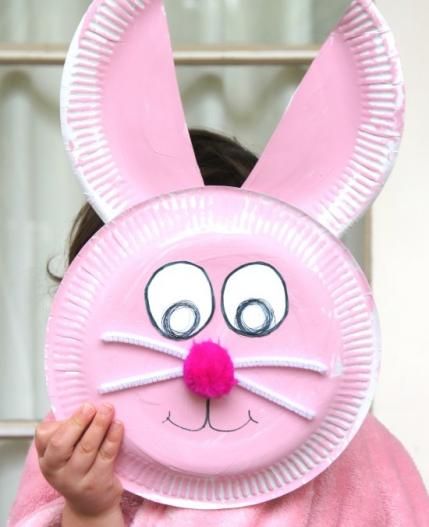
- Cut one plate directly in half (These will be your bunny ears)
- Paint the bottom side of the whole plate and the 2 halves that you have with your choice of color paint. Let Dry
- Cut 2 large circles from the white paper along with 2 smaller ones. On the large white circles color 2 black circles on the bottom to be the iris of your bunny’s eye
- Then glue the small white circles inside the black circles
- Next Cut two pipe cleaners in half. These will serve as the whiskers for your bunny. Glue the pipe cleaners in the shape of an “X”. Glue the the cotton ball in the middle of the “X”
- Once the plates are dry glue eyes, ears and nose w/ whiskers on the bottom of the full plate
- Glue the hears to the top
- You now have an AWESOME bunny mask
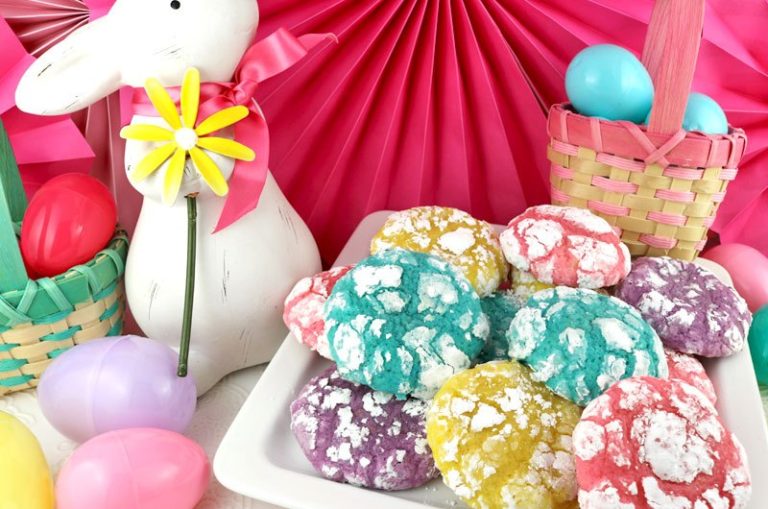
8 – SPRINGTIME CRINKLE COOKIES
Spring is officially here! That means baking with the windows open on a Saturday! We have the perfect recipe for some delicious spring themed crinkle cookies that the kids will love!
They’re festive and fun! You can even wrap them up and stick them in the basket with the other treats! Or they make a great table center piece!
Follow these steps to make The Best Springtime Crinkle Cookies
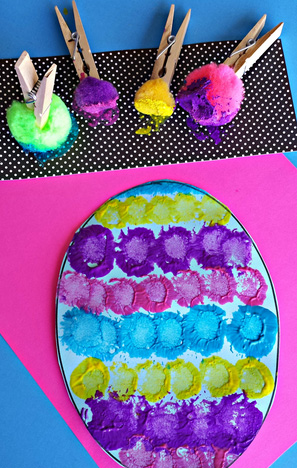
9 – PAINT AN EGG POSTER
DIYs are always a fun way to entertain the kiddos! What better thing to do than decorate an Easter Egg with the colors of your choice. This makes for the perfect Easter keepsake and can even be used in the Easter photo later on the list!
What you need:
- Cotton Balls
- Paint (your choice of colors)
- Marker
- Scissors
- Cardstock paper
Steps:
- Draw an egg on your cardstock paper
- Dip one cotton ball into your first color choice
- Stamp cotton balls on eggs in any design you like
- Switch cotton balls and dip into a new color
- Stamp in the same pattern as the first cotton ball
- Continue this until your egg is covered
- Design any way you would like or even do a tye-dye egg for even more fun and colors
- Let dry
- Cut the egg out and hang for your perfect Easter decoration!
10 – FAMILY EASTER PHOTO
Just because you cannot leave the house does not mean you have to miss the annual Easter Photo! We have the best DIY for your family to create a Facebook worthy family photo!
What you need:
- Backdrop of your choice (a pastel colored sheet could also work as a makeshift backdrop)
- Wall to tang the backdrop
- String
- Different colored cardstock
- Cotton Balls
- Glue
- Scissors
- Pencil
- Tape/hooks
- Phone with a camera
- Of course, your FAMILY!
Steps:
- Tape or hang backdrop to a wall
- Next cut a long piece of string to go across the backdrop
- Draw an outline of an oval with 2 bunny ears on top. Ensure it is big enough to be seen in the photo
- Trace the original drawing to ensure they are all the same size
- Glue cotton balls on the bottom of the oval to look like the back of a bunny
- Tape the string to the top of the ears for all the bunnies you have cut out
- Tape string to the backdrop
- Gather lights, easter eggs, and easter baskets for an even more festive photo
- Gather family for an awesome family easter photo
- Set self timer on phone and place in the proper position to get the whole family
- Now you have a great easter photo to share with friends and family

From our Scene75 Family we hope you enjoy these DIYs and holiday treats! Please stay safe and enjoy the great Easter memories you and your family are going to make this year!